We broke ground in the middle of June. The foundation was poured a week or so later and took a few weeks to be completed and for the concrete to cure. We went with a 9 foot pour in the basement.


The framing started the week after the Fourth of July. Our builder used I-Joists (engineered joists) for our house as they can carry a greater load and are less likely to sag and are not prone to shrinkage which can lead to floor squeaks. We also have two steel beams supporting the house.


The subfloor goes in...

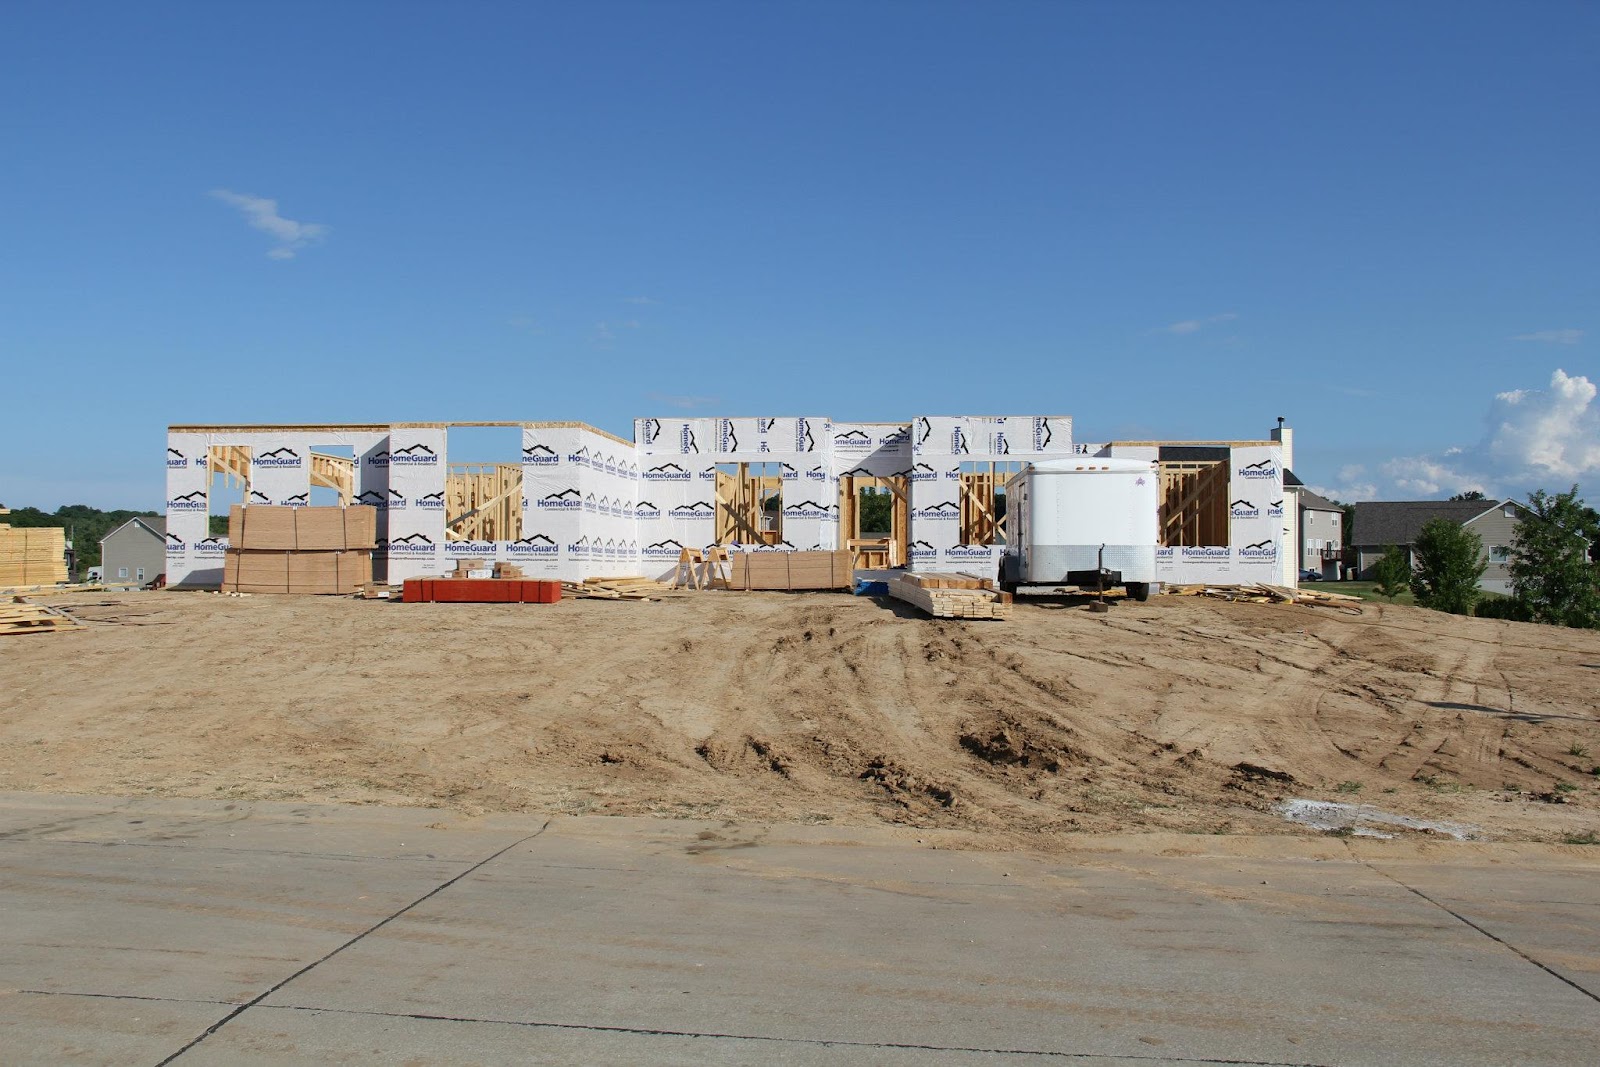
The outside walls are up...


The roof is installed complete with faux dormers. We asked about making them real, or having some way to have the light from the dormers come into the house, but it just wouldn't work with the way the rooms inside are laid out. I still wanted to keep them though. I think they do a good job of breaking up the roof and keep it from overpowering the look of the front of the house.

Here is the rear view of the house with the roof and covered deck in place. You can also see the bay window to the left for the master bathroom.

Below is the view from the kitchen looking into the great room. You can see that the vaulted ceiling comes down to 9 feet on the left side and roughly 11 feet on the other side. The ceiling in the foyer, den, and dining room are all 11 feet, so the original plan was to keep the hallway in front of the den at 11 feet as well. We didn't want to have the two sides be uneven, so we were going to bring the vault down to 9 feet and put in some columns with arches where the vault came down on the right hand side. This would leave the "hallway" in front of the den (right hand side of the picture) to the master bedroom (back right corner of picture) at 11 feet, but allow us to even out both sides of the vault.

However, once the house was up, we felt the columns would take up too much space on the floor. Our first thought was to leave the ceiling the way it was, as it is shown in the picture above. We really didn't want the view from the foyer to be of a bulkhead hanging down two feet. But, then again, we didn't like how unbalanced the ceiling looked as it was.
My husband's uncle came up with a really good solution to the issue. He recommended that we bring the vault down to 9 feet everywhere except the area leading into the foyer and leave a cut out at 11 feet in that area. So, the view in from the foyer would be unobstructed, but the vault in the living room would be even on both sides. It actually turned out really well as is shown in the picture below.

Another suggestion from my husband's uncle was that we ask the builder to install truss straps. Truss straps are metal straps that are attached to both the roof trusses and the top of the wall. They provide for a stronger tie between the roof and the walls of the house, to protect against the roof being blown off in high winds. Given how inexpensive they are, we thought it best to go ahead and ask that they be installed.

Here is another photo of the framing, showing the view from the living room into the kitchen. The wall for the island has been framed up and can be seen in the picture.

And one last photo showing the framing in the garage. I am excited to have a garage this big. Our garage at the old house was a 20' X 24' standard two car garage. This one is an oversized 3 car garage (27' X 32'). It's actually larger than the apartment we are in right now.

No comments:
Post a Comment